Keeping your WordPress website backed-up and secure is essential to ensuring that your website content is always safe. And, of course, you don’t want to lose any text you’ve written or photos you’ve uploaded.
We have outlined the steps to have a scheduled back-up of your website automatically generated and saved on a regular basis.
In order to complete the tutorial you should have knowledge of and experience with the following:
- Good knowledge of your WordPress administrative screen
- Installing WordPress plugins
- Access to a Dropbox account, or ability to create a new Dropbox account
If you would prefer for us to set-up the back-up for you please contact us. We are always happy to help.
Adding the BackWPup plugin to your website
Once you’ve logged in to your website’s administrative screen click on the ‘Plugins’ tab on the left side of your screen. You will see a list of the plugins which are currently installed on your website. At the top of the screen, click on the ‘Add New’ button.
Search for ‘BackWPup’. And click on ‘Install Now’.
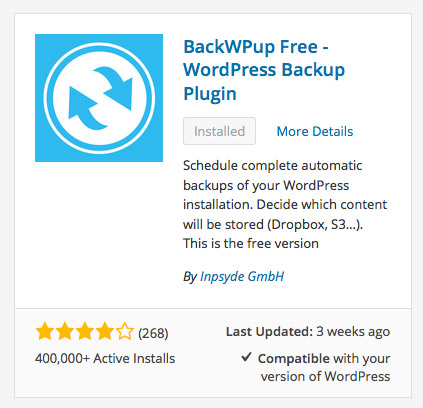
Once you’ve installed the plugin successfully you will see that a new tab has been added to your website’s administrative screen entitled ‘BackWPup’.
Configuring your automated back-ups
Under the main BackWPup tab, click on the sub-tab ‘Jobs’ and ‘Add New’. Please ensure your settings are as follows:
- Under ‘Job Tasks’ ensure that Database backup, File backup, WordPress XML and Installed plugins list are all checked. Check database tables can be left unchecked.
- The ‘Archive name’ can be left as the name automatically generated by the plugin.
- The ‘Archive’ format should be Tar GZip.
- Under ‘Job Description’ and ‘Where should your backup file be stored?’ you should ensure that ‘Backup to Dropbox’ is checked.
Finally, click on ‘save changes’ at the bottom of the screen.
Scheduling a back-up
Click on the ‘Schedule’ tab which is located to the right of the ‘General’ tab. For the ‘Start job’ option click on ‘with WordPress cron’. Below you’ll see options for the schedule execution time. You can schedule your website to be backed-up monthly, weekly, daily or hourly based on how often you update your website. Finally, click on ‘save changes’ at the bottom of the screen.
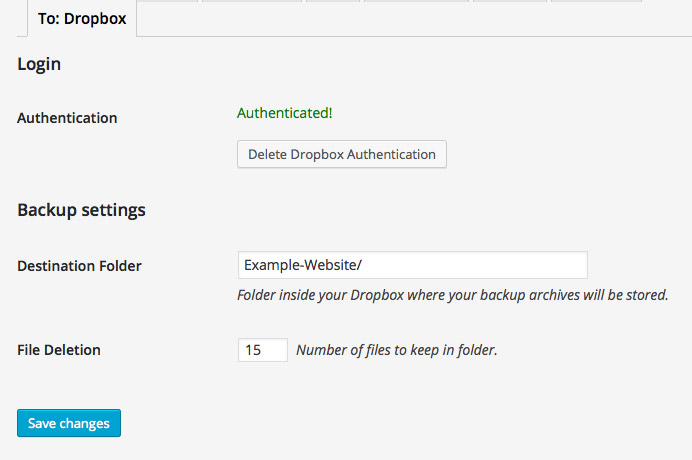
Saving your back-up to Dropbox
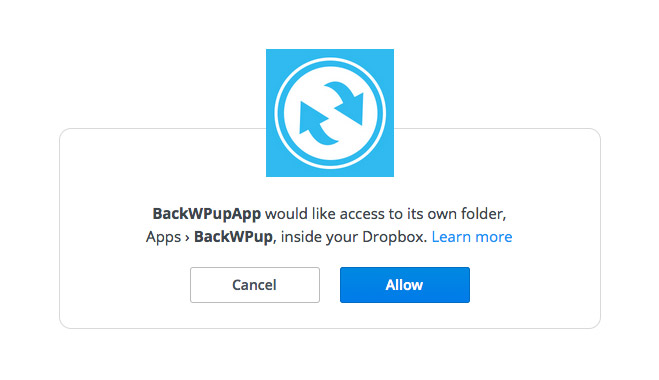
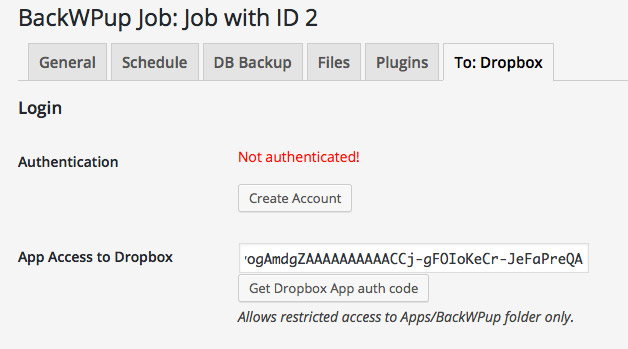
Click on the ‘To: Dropbox’ tab which is located to the far right of the ‘General’ tab. Under ‘App Access to Dropbox’ click on ‘Get Dropbox App auth code’. You’ll then be presented with another screen asking for permission to link the BackWPup plugin to your Dropbox account. Click ‘Allow’. Please note that you may need to create a Dropbox account at this stage if you do not already have one.
You’ll then be given an authorisation code to copy and paste into the ‘App access to Dropbox’ input field.
Finally, click on ‘save changes’ at the bottom of the screen.